Tuesday, January 29, 2013

Senior Hockey Albums Complete!

HUGE THANKS to two super members over on the Cricut message board.  These would not have come out so phenomenal without your help!

Looking for the Counterfeit Kit Blog Hop?  See 1/25/2013 (next post)  Thanks!

so - without further adieu - some more photos!  The albums were loved by all!  The one shown is pretty typical, however, based on the photos of the particular skater, elements moved around quite a bit!

I didn't pull out all of the tags - there are 2 per page on the vertical and one per page on horizontal.  I do leave space for them to add more photos - I just pull a dozen or so per boy plus all their newspaper articles to include.  


Friday, January 25, 2013

Counterfeit Kit Challenge Blog Hop!

Welcome to the CKC Blog Hop.  We have a wonderful hop for you with many talented and creative scrappers showing their inspirational creations.  Note: sorry I am running late, I put the wrong time on the auto-publish settings - I guess I need to re-figure time zones LOL.

But - better late than never, so on with this wonderful blog hop.  You will find a ton of creative layouts and cards on your journey, so grab some coffee, sit back, relax and keep on hopping!

If you have arrived here from Lesley's Blog, you are in the right spot!  If you just stumbled across this blog hop, feel free to go forward from here and then head back to the beginning, or go back to the beginning at Jemma's Blog and view all the spectacular creations!

Here is my entry for Challenge #1 on the Counterfeit Kit Challenge Blog.  A layout using three papers, three embellishments and a three word title.  Kind of tough for me to figure out at first, but then inspiration finally struck as I grabbed some core'dinations cardstock and added light distressing!

What supplies?  All from my stash - a lot of scraps and lots of fun.
3 Papers:
Background glitter paper from My Mind's Eye Laundry Line collection.
Floral glitter paper from My Mind's Eye Laundry Line collection.
Dots beige paper - Core'dinations core color pack - that coordinates with a Cosmo Cricket line

3 Embellishments:
Inked edges of papers (Stampin Up and Palette Inks)
Ribbon - Cosmo Cricket - leftover from another project
Softies/Rubber accent words - KI Memories Summer Softies

3 Word Title - Agate Lake Retreat
As shown above - a fun fall retreat in MN.  We use that main room for our crop area and we all stay in cabins.  Total fun - even midnight tours around the lake if we desire!  Letters are from an October Afternoon pack.

The little Fun embellishment is made from scraps of paper and ribbon and a few more of the letter stickers.  Since I love to participate in swaps, took that idea and made a quick little ATC sized dimensional piece - I love lumpy pages!  I had already used up all the swaps I had from this particular line of paper.

Be sure to check out the rest of the stops in this wonderful hop.  The entire order is below:

Jemma - http://just-jimjams.blogspot.co.uk
Lucinda - http://www.scrapbooksandcows.blogspot.com/     <----- You are Here!

It would be great if you would leave me a comment and become a follower of my blog! I will have a drawing, from all followers for a fun little Valentines blog candy.  A package of rhinestones and a package of puffy heart stickers add some bling to the mix!  Just leave a comment and become a follower to qualify for the drawing.


Other news - love to participate in scrapbook swaps?  Looking to hostess?  Check out Scrapbooking Fun.biz and join in the fun.  Our first online crop of the year will be taking place the week of April 22-28 - just after tax season here in the US and kicking off Earth day for 2013.  Our theme for the week will be Reduce, Re-use and Recycle - it should be a lot of fun and definitely will require the use of a stash!  Lots of challenges and prizes and even a fantastic online Bingo game that Saturday night!

Have a great time during the rest of the hop - there are some very inspiring pages out there!

Monday, January 21, 2013

A tag quickie

for a challenge over at Sketches for All.  Just a short and sweet post for today.

Pretty fun when scrapping is using all stash/scraps.  Other than the tag (which is neon green), everything came from my scrap bins.  Something fun to do while kids are working on schoolwork.  Homeschooling is not just talking to kids - it also entails letting them work through their math.  Which, sometimes, they would prefer to avoid, so mom is in the room with them.

Papers: Target Dollar Spot, Core'dinations Gemstones, Making Memories Christmas, DCWV Word Stack. All from my scrap bin - none were whole sheets!

Inks: Stampin Up Brilliant Burgandy, Palette Burnt Sienna

Stains: Making Memories - Burnt Sienna and another

Stamps: wonderful flowers from either a hostess gift or a prize - I wish I could remember as I use them a lot due to their versatility

Ribbon: leftover from a Cosmo Cricket pack

Friday, January 18, 2013

The anatomy of a swap

Now that you have completed your items and mailed them off - what happens?  I have bee asked how I do this and such many times, so I decided to take some pictures.

First - I keep swaps in their packaging and into different sets of totes.  This swap happened to be the deer one (aka 52 week round 5).  Usually two bags per swap.  I seldom hostess ones with more than 8-12 people anymore.


Get the packages laid out and make sure everyone's are there.  It has been checked as they come in, but I always check at this point too.  Sometimes, I have been known to put the swap into the wrong bag.

Do a count of items.  Basically, I am checking to be sure that the correct number of items have been sent.  I usually just check the quality (aka - were rules followed) when they arrive as well as if return postage is included.  Well, the postage I don't always check right off if you have been in swaps with me for a long time. I check at the end and will let you know if it is short.  I do hold packages for new swappers until postage is received.  Only once has it been an issue - and since I won't lie on forms regarding contents, that is just how things go.  In 7 years of swapping, I only kept one set of swaps.  I donated them after a year of waiting.
 Next step - the swap begins.  This is a photo of the swap in process.
 

 Finally - the swap is complete, but I am double checking to be sure the right number of baggies and no duplicates are in each package.

Hurray - the swap is complete and things are back into their original packaging.  Now for the time consuming part - weigh, label and get the right postage on each one.  It isn't hard, just making sure that labels are right.  Flat rate makes this step go a lot quicker, but I don't mind checking for other rates.  One thing I have learned -- if it is over one pound, priority and parcel post only seem to differ by about ten cents.
Well - that is how I complete the swaps.  I will be posting pictures of the items for this swap later tonight.

52 Week Round 5 -
Week One - person shaped.  It is amazing how different 4" cuts come out!

 below is the 8th in the group - I love how we all do a different take on person shaped.


Next up - Orange - I love all these wonderful pieces!

 Week Three - DCWV paper - any kind.  All the baggies tell which one if you find one you just have to have more of
 Week Four - Outdoor theme - I guess this one was a hectic week.  Three embellishment baggies are heading your way.  Nope, no pics - not giving any hints there!
 Week Five - Choice.  WOW - I sure wish my photos did more justice to these items!  A hidden journaling photo mat, an interactive mini-album page, a flower created with doilies and twinkling H20's, some stick pins, a domino mini, a ticket strip, a book mark, and a purse mini.  Love how we all have different takes.  Each baggies items were just a bit different.
 Clearly Seen!  This was a challenge, but look at the phenomenal results!
 Next up - King Tut!  Wow did everyone rise to the occasion here - look at the wonderful items we get to use!  Plus, one embellishment baggie!

Finally - last week of the round - time for a breather, but even with a breather, the journal items are outstanding!

Congratulations to all who participated.  I wish my photos were better, but they had to be pretty quick.  If I missed mentioning - anytime there aren't 8 items, there was an embellishment baggie and I don't include those in photos so you are surprised!  This swap originated over at http://www.scrapbookingfun.biz, but has grown to include Cricut board members as well.  Great job everyone!

Thursday, January 17, 2013

Busy Times

This month has been flying by and it has been very busy.  Not much accomplished on my counterfeit kit, but hoping to get farther this weekend.  One Sr Album is complete, two more in process.

I took a break to try something different for some swaps over at Scrapbooking FUN.biz.

For a Vintage/Grunge Valentines Swap.  You can't see, but the tag (TH Christmas Tag Size) is a recycled piece - it is a neon color, but I couldn't toss them.  The ribbons are from either a dollar spot and just my stash.  The papers are from a pack of dollar spot (I think they were target) items.  The cardstock is either AC or Bazzill.  The Butterfly is a Martha Stewart cupcake topper, trimmed to fit.  Buttons (two are actually vintage), a little Jolee's charm and piece of trim complete the embellishments.  The stamp is one I made using some of my fancy scissors, a piece of dollar store paper, ink, and some little hearts left from some die cuts I had made.  I use my little separator drawers to keep some of these little punched images on hand - hearts, butterflies, leaves, etc..  Each has their own drawer.

For a Pick a Holiday Library Card Swap - pretty straightforward and plain, but I am happy with the results. Everything came from my stash.  AC Cardstock, some K & Company (or KI Memories, I can't remember) die cut pieces, the heart die cuts are from a laser cut sheet, the words on the front are from a DCWV paper pack.  The foam heart/scallop are from somewhere LOL.  The other two papers were from a dollar store - many years ago.  Other than the adhesvie, I think the newest pieces were the cardstock and the Be My Valentine Sentiment.  Keeping a drawer for Valetines papers and embellishments made creating this pretty fun.  Just go through the drawer and see what you feel like using.

Hoping to get a bit more completed this weekend.

Thursday, January 10, 2013

And the Senior Albums are coming along

First things first - double check my pattern - my notes on build-a-page albums, my sample and some work in progress.  The Build a page is design by Kathy Orta.  

Next - finish a sample page and it is time to assemble the various kits I will be using.  I use various tapes and Scotch adhesive to build these pages.

Kits assembled - paper for building, paper for decorating and various embellishments go into each baggie.  I bag things up per hockey skater.  Later, I will add photos and such, but parents are still tagging them for me. Their newspaper articles will be added at that time too - as well as some other items.

Here are the contents (almost all) of one kit - papers, embellishments and adhesive.  I put the main adhesive I will use into each bag.  From experience I know I will use two rolls of this one, some liquid glue and some scor-tape.  I won't use a whole role of scor-tape or a whole bottle of liquid glue, so those items just come from my stash.

I forgot to take a picture of the pages all assembled, but here are a few of the cover going together.


Finally - the book is bound.  A few embellishments for the cover so I can check out that I have enough paper and all (I do, but just of the non-background pp).

Finally - I have to be sure the covers are right.  After the wonderful gals over on cricut.com cut my pieces, I realized that one of the papers I thought I ordered, I didn't.  So, I had to adjust the size of the album a bit and the hockey sticks were a tad too large.  It nearly broke my heart, until my son had an idea - cut them apart.  Only those with this cartridge will ever know what I have done (plus I have another whole stick to use as an embellishment with a puck!  Yipee!!!!!)  Huge thanks as this is exactly what I am going for.  I forgot to put the O back on before the picture.  It will be done before the boys get their albums.
It is a bit tough to see, but the paper on the front is really sparkly/glittery.  It adds just enough to go with the emblems.  Our team is called Eagle Hockey, so the cover is perfect.  Now to finish the rest of the album - decorating pages, adding tabs/pull-outs, patterned paper, etc.

Those images turned out superb!  I am definitely going to need this cartridge in my library.  Next year?  There are currently 16 juniors skating - if that holds and we have 1-2 join for their senior year - I will be really busy!  May have to call in the reserves --- aka ladies who I hope to bring over to the scrapbooking side!  ROFL

Have a great one!3M Company CAT019 Scotch Scrapbooker's 2-Way Glue (Google Affiliate Ad)

Wednesday, January 9, 2013

Supplies have arrived

To make this year's Sr. hockey memory books.  A few of the boys have made the papers, so I have those articles to include in pockets in their particular albums.

Simple materials - this Urban Prairie, Bluebird from Basic Grey looks like ice that has had skate blades over the top, so will make a perfect base.  Also picked up several packages of tape from Scrapbuck.com to put everything together.  Scrapbuck has been great to help me stay on budget for these books.  I use this tape for the inner parts of the album, but still go back to Scor tape for the covers.  I like scor tape for chipboard or coated surfaces, but love this less expensive alternative for building the books.  It holds great for paper.  Also found these cute little tag books.  I bought multiples to be sure I have enough as well as some clearance hockey paper and some more miniature tags from Archivers to include.  Taking a break for a few days from my album to work on these.

Then some wonderful ladies over on the Cricut message board are helping me out by cutting the team images I need for this project from a cartridge I don't have.  I will try to remember to post pictures of the final albums.  They won't be large - after all these young men are off to college and there is a good chance these won't go with them.  However, they will be designed to fit/store nicely on a shelf.  Prior years players tend to take them once they move out of their houses.

Quick puppy update - they are growing fast!  Back when we got them.


Six months old now and growing to be even more fun and useful!  These giant puffballs are a blast outside, they learn quickly and are very intelligent.  They love the weather - the colder, the better.  It was -7 and windy the other morning and we figured they would be in the barn with the cats out of the wind.  Nope, these two were laying outside spread across a giant snowdrift just relaxing.  If it is snowing, they prefer to stay outdoors rather than in their wonderful barn.  These two hit panic mode when taking to the vet - basically they turn into heavy dead weight and don't move - flooring makes them nervous.  Luckily, only one more visit (at spaying time) and then our large animal vet takes over their care.  They guard their turf well even at this young age and it is exciting watching them learn new duties (they are Great Pyrenees Mountain Dogs in training to be our livestock guardians).  Their favorite pastime right now - playing king of the mountain and digging tunnels in a few different large piles of snow we have right now.


Sunday, January 6, 2013

Time to start

On my new mini album, that is!

After adding the 8 new sheets of paper from the 
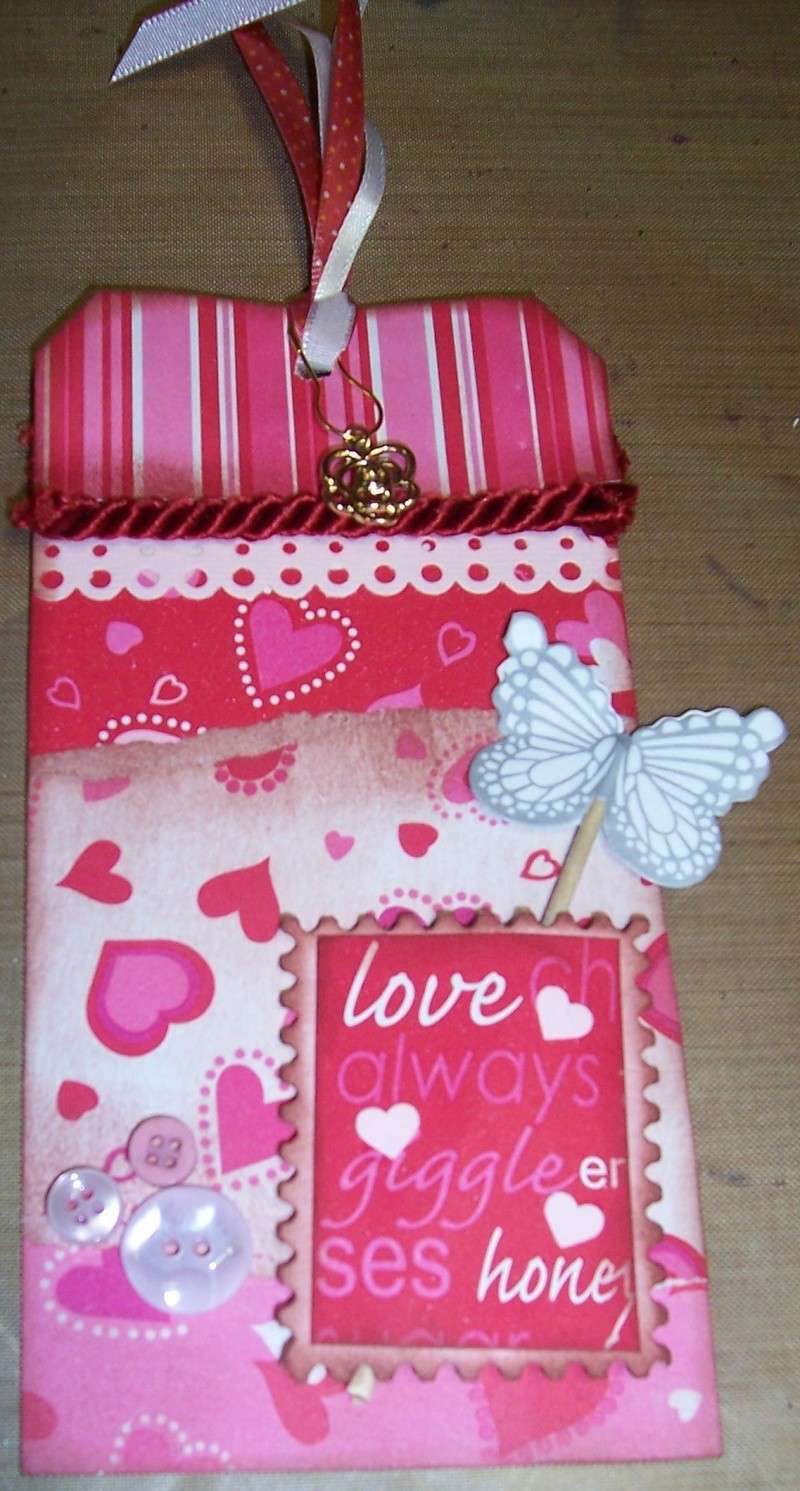
Counterfeit Kit Challenge (I measured wrong and needed this size for my photos - so glad I placed a few on my first page to be sure before making a large number of pages), I started making some double sided library pockets.  I hit my stash for this paper - I tend to buy a lot of a design when I like it, so I had enough left for 8 sheets.  These will be my pages.

 The next two photos show the back of a double sided library pocket with an insert (brown) for additional photos.  I think I have almost 200 photos to include, so only my favorites will go on the outsides, the insides of these pockets are for the short stories from the side trips we made.

 Sometimes I mess up and have a bit of an area left at the bottom of a pocket from the second flap,  Once adhered, I just trim off the excess.  After inserting the binding, no one will see anyway, but I still like to trim the edge.
 So - two double sided library pockets with inserts.
 A single, double sided library pocket with an envelope with large flap on the front and another double library pocket on the back.

 Two double sided library pockets with front short flaps and back large flaps with band to use as an anchor for two particular photos.  An advantage when putting a mini for yourself together - you have a basic idea of a few of the photos you want to include/highlight.
 Another single, double sided library pocket with a miniature library pocket on the front.  I may add more to this pocket, but wasn't positive yet, so kept it simple.
 Finally, rounding out my 8 main pages, two double sided library pockets with tag pockets on the front.  One of the two has equal size tag pockets, the other has a narrow pocket and a regular pocket.
So - where did I learn to do these?  How did I create?  Well, the library pocket is a conglomeration of many, many sites.  It is one of my favorite pieces to use and I used to buy or create by printing out patterns, tracing to pp, then finally folding.  It got to a point that I did create a step by step set of instructions you can find if you want to know how I create them.  I am sure it is very similar to many other sites, but I was tired of always looking up every dimension and now there is no need!  Plus, I love swapping scrapbook items, by getting the instructions ready, everyone over in the swap at Scrapbooking Fun.Biz can create them just as quickly if desired.

The library pockets are one of my favorite pieces to use, along with the narrow envelope I have on one of the pages.  The narrow envelope is basically  from an envelope I used in a project, liked and couldn't find in the right color, so used it as a pattern and make them when I need them.

For the bindings - I watched ustream and you-tube classes and bought various tutorials from Kathy Orta and Laura Dennison.  I have practiced many of their albums (love Kathy Orta's build a page system) and have given away many as gifts.  (though the fairy box by Laura Dennison is still only partially completed - I keep running out of the clear acryllic I am using for pages - maybe I will finish this year :)

I started with various techniques they taught, and now create my own designs.  The Giraffe Double Mini Album (you can find it in December Archives on this blog) is the most complex I have done without a pattern.  I started with some pocket protectors the individual wanted me to use and a Giraffe hanging she had found and went from that point.   I only have a few photos shown - it takes 45 to display all the pages/flaps/etc..

After all the work of the Giraffe album, I realized I cannot remember where I learned how to make various items (there are more blogs and you tube videos, but I cannot remember them all) and so I don't give out patterns for my books as I cannot remember who to credit with the original technique.  I know I have altered from what has been taught, but it would feel a bit like plagerism if I printed them on my blog.  Sooo - I strongly encourage you to visit their sites, try out the tutorials/patterns and enjoy your journey.  I know I have enjoyed many hours of learning and creating and hope you enjoy your time as well.